[Answered] Why Camper Battery Not Charging and How to Solve
Battery failures are usually caused by improper battery maintenance, rather than technical faults of the battery itself. There are multiple reasons why a battery may not be able to charge, and most solutions are relatively simple.
If your camping trailer battery is unable to charge, troubleshooting methods include checking for corrosion, battery charging status, and converter issues. The fuses, diodes, and resistors on your circuit board may have blown, or there may be a problem with the shore power. Proper maintenance is key to keeping the battery healthy.
Table of Content
- How Do RV Batteries Work?
- The Importance of Battery Maintenance
- How Do RV Batteries Work?
- 1. Battery Sulfation
- 2. Shore Power Failure
- 3. Resistor or Diode Failure
- 4. Battery Is Losing Its Charge
- 5. Check the Converter
- 6. Troubleshooting a Faulty Circuit Board
- Upgrade Your RV Battery to Maintenance Free LiFePO4 Batteries
How Do RV Batteries Work?
RV batteries, also known as deep cycle marine batteries, work differently from standard car batteries. They are designed to provide a steady and reliable power supply over an extended period of time.
RV batteries are typically lead-acid batteries, which consist of two lead plates submerged in an electrolyte solution of sulfuric acid. One plate is coated with lead dioxide (positive terminal) and the other with spongy lead (negative terminal).
When a load is connected to the battery, a chemical reaction occurs between the two plates and the electrolyte solution. This reaction generates electrons at the negative terminal and accepts electrons at the positive terminal, creating an electric current.
To charge the battery, an external power source such as a converter or solar panel is used. This power source supplies a higher voltage than the battery's full charge voltage, causing a reverse chemical reaction. The lead dioxide and lead sulfate on the plates convert back to lead and lead dioxide, respectively. This process restores the battery's energy for future use. Below is the format of deep cycle lithium battery system charging voltage.

Unlike car batteries that are designed to provide short bursts of high power, RV batteries are designed for deep cycling. Deep cycling refers to the process of discharging the battery to a significant level and then recharging it. This is ideal for running appliances and electrical systems in an RV.
It's important to note that proper battery maintenance is crucial for the longevity and performance of RV batteries. This includes regular charging, avoiding deep discharge, monitoring electrolyte levels (for flooded lead-acid batteries), and keeping the battery clean and free from corrosion.
The Importance of Battery Maintenance
To maximize the lifespan of your RV battery, it is essential to use it properly, maintain it regularly, discharge it correctly, and store it appropriately. The depth of discharge, or how deeply the battery is cycled each time, is a critical factor in battery life.
For lead-aid battery, FLA or AGM, a battery cycle occurs when the battery is discharged from full charge to 50% and then recharged back to 100%. It is recommended to avoid letting your battery run down below 50% by considering your battery's amp hours and halving it. Prompt recharging after discharging your battery is crucial for its life expectancy.
Experiencing issues with your camper battery? Explore our RV batteries to find reliable replacements.
Reasons Why Camper Battery Not Charging
If your trailer battery is not charging, there could be several reasons, most of which relate to maintenance issues.
1. Battery Sulfation
Sulfation is a common cause of battery failure and occurs gradually over time as the battery undergoes multiple charge and discharge cycles. This process leads to the formation of sulfate crystals, which can create a greenish-white buildup around the battery. This buildup can impede proper electrical connections and hinder the battery's ability to charge. There are several factors that can contribute to increased sulfation, including overcharging, undercharging, storing the battery in a discharged state, and allowing the electrolyte levels to drop below the lead plates, exposing them to air.

To prevent sulfation and maintain optimal battery performance, it is important to properly treat the battery after it has been discharged. This includes regularly checking the electrolyte levels (at least once a month) and fully charging the battery before performing any maintenance. It's worth noting that electrolyte levels can fluctuate depending on the battery's charge level, so it's essential to account for that when checking and maintaining the electrolyte levels.
Steps to Remove Corrosion
To remove corrosion from your battery terminals, follow these simple steps:
- Disconnect the battery: Start by removing the cables from the battery terminals. Begin with the negative terminal and be careful not to touch both terminals simultaneously.
- Neutralize the acid: Pour a small amount of baking soda onto the terminals in a ring shape. This will neutralize the sulfuric acid before cleaning.
- Brush with water: Take a soft brush, like a paintbrush, and dip it into water. Gently brush the baking soda rings, ensuring you don't splash the mixture. Let the mixture fizz for a minute or two to neutralize the acid.
- Scrub the terminals: Use a more rigid brush, such as a toothbrush, to carefully scrub the baking soda and water into the terminal posts. Pay special attention to the inside of the cable clamps where the connection is made to the terminal.
- Allow time for the mixture: Let the mixture sit for a couple of minutes to further neutralize any remaining acid.
- Wipe clean: After allowing time for the mixture to work, wipe the terminals with a clean rag. Make sure to avoid getting the mixture on your hands, trailer, or clothes, as it can cause burns.
- Seal the terminals: To prevent future corrosion, use a high-quality sealant spray available at auto part stores to seal the battery terminals.
Following these steps will help maintain the cleanliness of your battery terminals and prevent further corrosion.
2. Shore Power Failure
If you're experiencing a charging issue with your RV battery, it's important to rule out any potential problems with the power post before assuming it's a battery fault. In certain cases, power posts in RV parks can become faulty, burned out, or damaged, preventing your battery from charging. Before troubleshooting the battery, make sure to notify the park management about the power post issue so they can address and fix it appropriately.
Need a reliable RV battery? Explore the best RV Lithium Battery at Redodo for your camper!
3. Resistor or Diode Failure
The purpose of resistors and diodes is to convert AC voltage to DC voltage in your power source. However, they can sometimes burn out if there is a sudden increase in temperature. If you notice any burned-out components on the circuit board, it's a clear indication of a problem. Unless you have experience working with electronics, it is recommended to seek the assistance of a qualified professional to replace the faulty parts for you.
4. Battery Is Losing Its Charge
To determine if your RV battery no longer holds a charge, you can follow these steps:
Charge your battery for a few hours until it is fully charged.
- Disconnect your battery from the RV to separate it from the electrical system.
- Let the battery rest for an hour or so.
- Use a multimeter or voltmeter to check the battery's voltage and ensure it still retains its full charge.
- If you notice a decline in voltage readings, it indicates an issue with the battery itself. You might need to replace it with a new one or consult a battery specialist for possible reconditioning. If the battery holds its charge, you'll need to continue troubleshooting to identify the problem.
5. Check the Converter
To clarify, it is important to determine if your RV converter is capable of charging the house batteries when the vehicle is connected to shore power. This information can be found in the owner's manual or by contacting the RV dealership. It is worth noting that older campers may have converters that are not designed for battery charging.
If the owner's manual is not available, obtaining a new copy from the RV manufacturer's website or the dealership is recommended. This will provide valuable information for troubleshooting battery charging issues in the future.
If your converter is designed for battery charging, then let’s check converter cooling fan or thermal sensor.
One possible cause of a battery not charging is a malfunctioning converter cooling fan or thermal sensor. The fan plays a crucial role in keeping the internal components of the converter cool. However, if the fan fails, it can cause the converter to overheat and potentially lead to shorts in the battery system.
To troubleshoot this issue, carefully inspect the converter for any signs of burned wires, unusual smells, or other visible indications of damage. Additionally, using a multimeter, check if the fan is receiving power from its source. If there's insufficient power reaching the fan, it is likely necessary to replace the converter fan.
To further diagnose the issue, we also mentioned checking the voltage output of the converter. If the output is significantly lower than normal, it may indicate a problem with the converter itself. In this case, replacing the converter would be necessary.
Lastly, we emphasized the importance of safety precautions when dealing with electrical components. It is always recommended to seek professional help or consult with an experienced technician to avoid any mishaps or further damage to the RV's electrical system.
6. Troubleshooting a Faulty Circuit Board
If you suspect a faulty circuit board in your RV, follow these steps to investigate and potentially fix the issue:
- Check breakers and fuses: Power surges from a shore power source can trip breakers or blow fuses. Inspect each one to ensure they are functioning properly. Replace any faulty breakers or fuses.
- Identify problematic circuit: Turn off each circuit breaker or remove each fuse. Gradually turn on each circuit and engage the corresponding appliance to identify if any specific circuit is causing the issue.
- Elimination process: Through a process of elimination, go through each circuit to determine if the circuit board is faulty. This will help pinpoint the problem circuit.
- Replace burned out fuse: If you find a burned out fuse, it can be easily replaced.
- Call an electrical contractor: If a circuit breaker is at fault, it is recommended to seek the assistance of a licensed electrical contractor for proper repair or replacement.
- Check for corrosion: Remove the housing panel of the circuit board and inspect the interior for any signs of corrosion, such as a flaky white residue.
- Disconnect power sources: Prior to cleaning, make sure all power sources are disconnected to avoid accidents or further damage.
- Clean the affected area: Mix 12oz of water with one teaspoon of baking soda. Gently swab the affected area on the circuit board with a q-tip soaked in the mixture.
- Thoroughly dry the area: After cleaning, ensure the area is completely dry before reconnecting power sources. Use a clean paper towel to absorb any moisture.
Remember, if you're not comfortable or experienced in handling electrical components, it is best to consult a professional to avoid accidents or causing further damage to your RV's electrical system.
Upgrade Your RV Battery to Maintenance Free LiFePO4 Batteries
If you're experiencing ongoing battery charging issues in your RV, another solution to consider is upgrading your battery system to maintenance-free LiFePO4 batteries. LiFePO4 batteries, also known as lithium iron phosphate batteries, offer numerous advantages over traditional lead-acid batteries.
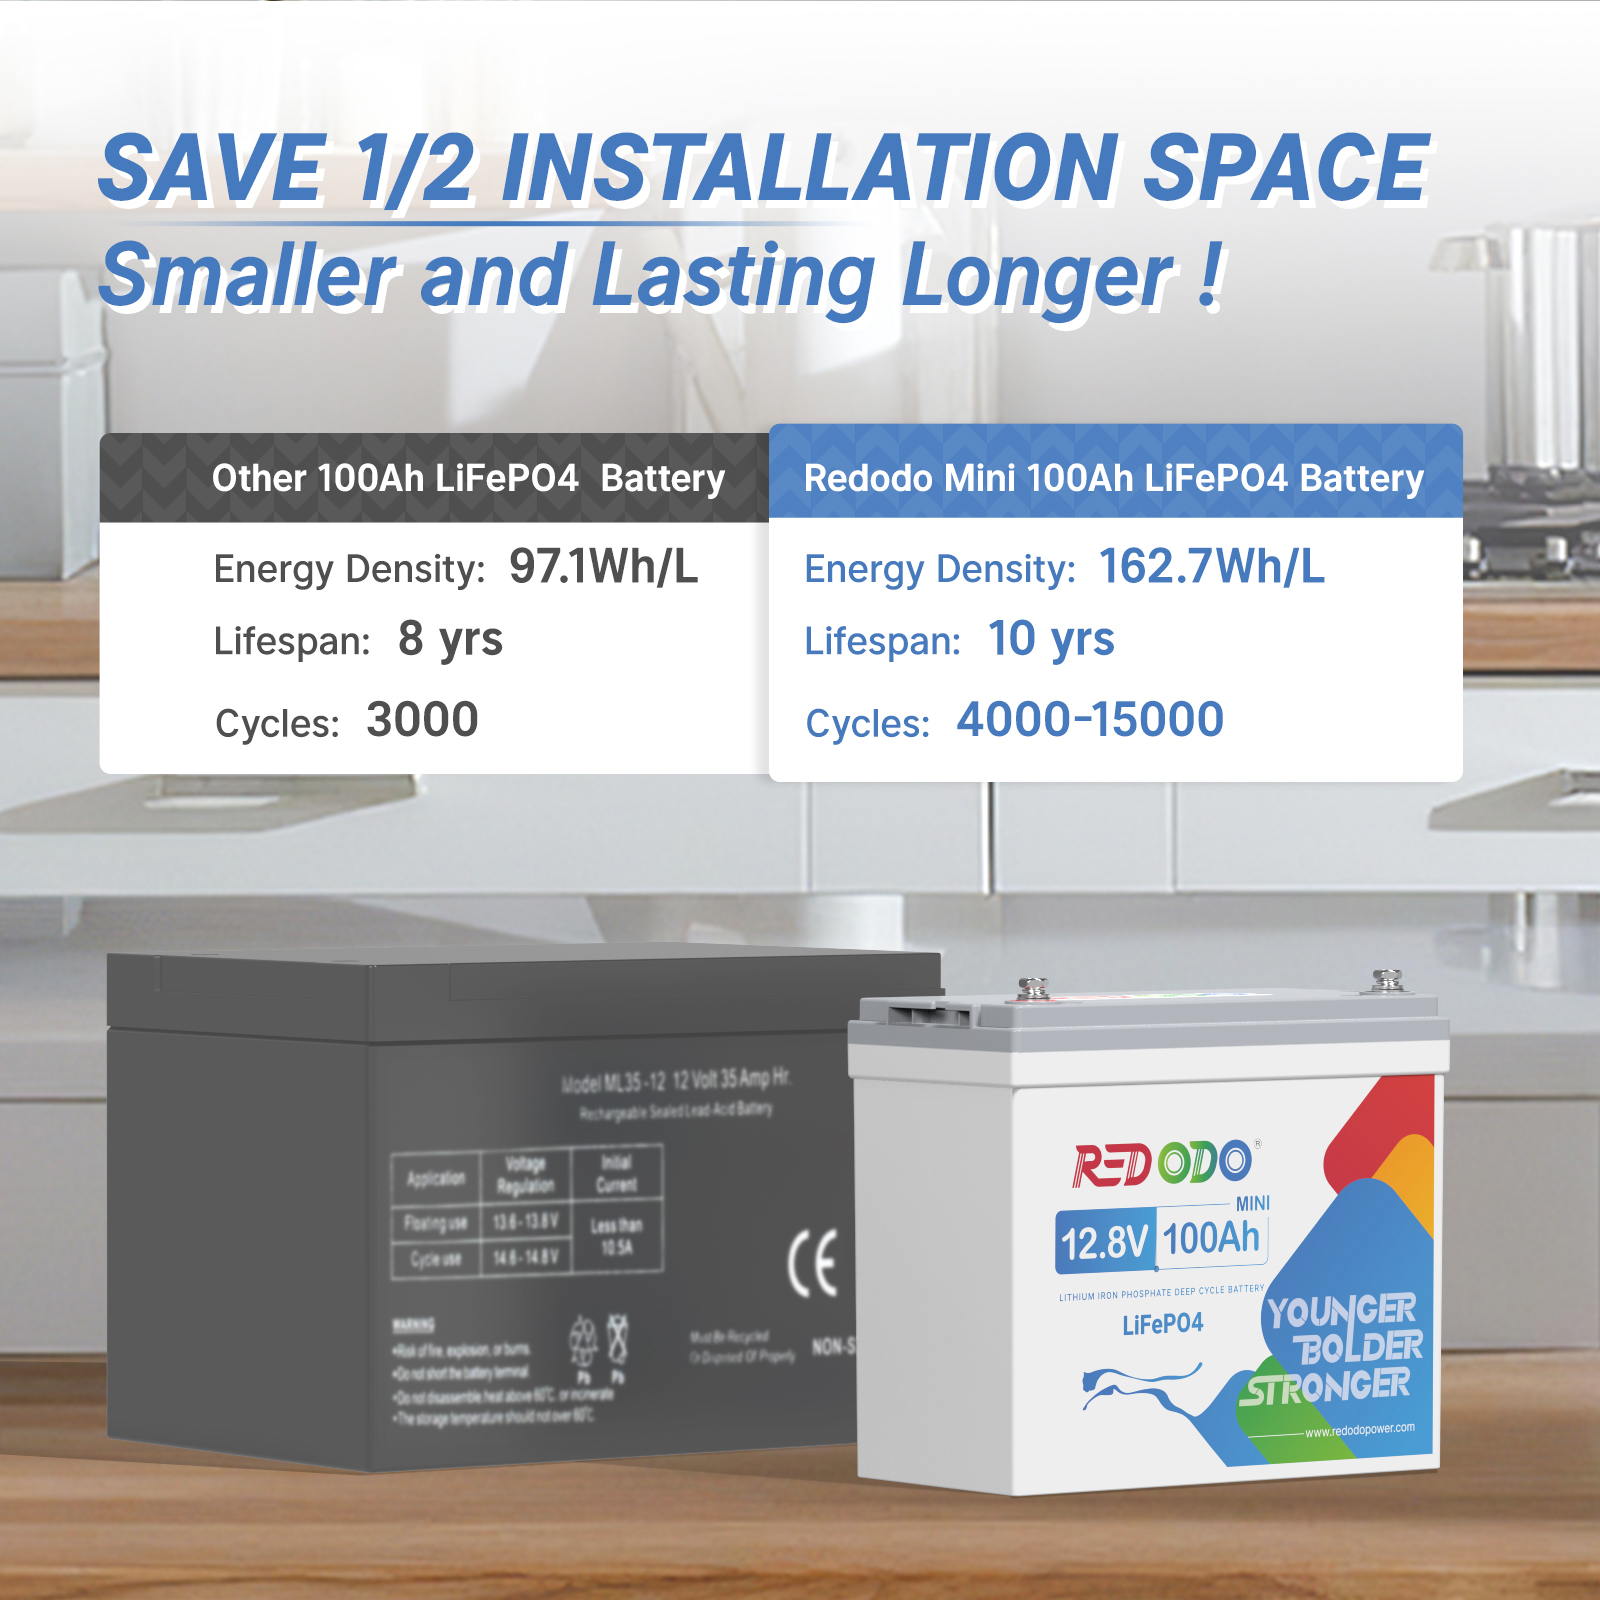
One significant advantage of LiFePO4 batteries is their longer lifespan. While lead-acid batteries typically last around 3-5 years, LiFePO4 batteries can last up to 10 times longer, potentially saving you money in the long run. Additionally, LiFePO4 batteries have a higher energy density, meaning they can store more energy in a smaller size, which is ideal for RVs with limited space.
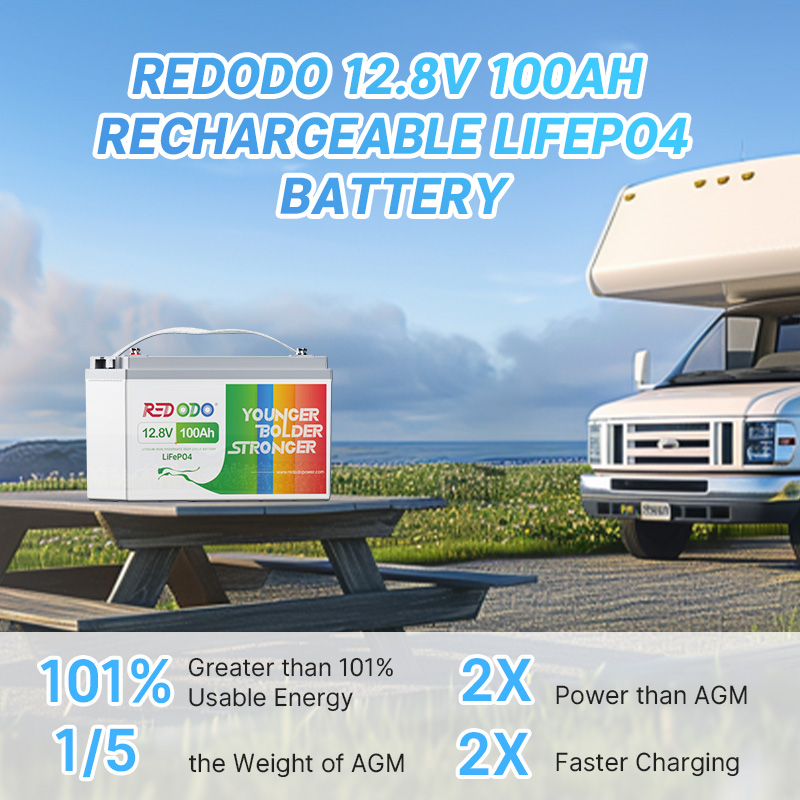
LiFePO4 batteries are also lighter than lead-acid batteries, reducing the overall weight of your RV and improving fuel efficiency. This weight reduction can be particularly beneficial for RVers who frequently travel long distances or navigate challenging terrain. For example, the Redodo 12V 100Ah Mini Lithium Battery is just 19 lbs, and can be installed in any direction, even up side down, making it versatile in fitting into your RV's available space.
Another significant advantage of LiFePO4 batteries is their ability to discharge at a more consistent voltage, providing a more prolonged and steady power supply to your RV's electrical system. This can help prevent the voltage fluctuations that can occur with lead-acid batteries, potentially damaging sensitive electronics.
LiFePO4 batteries can be discharged to 100% without damaging the batteries. This is in contrast to traditional lead-acid batteries, which should not be discharged below 50% to ensure their longevity. The ability to fully utilize the capacity of LiFePO4 batteries can be beneficial in applications where a consistent power supply is required, such as in an RV.

Redodo 12V LiFePO4 battery SOC%
To upgrade your RV battery system to LiFePO4 batteries, it's crucial to consider several factors. First, consult with a professional to ensure that your RV's electrical system is compatible with LiFePO4 batteries. In some cases, modifications or upgrades may be necessary, such as replacing the battery charger or converter.
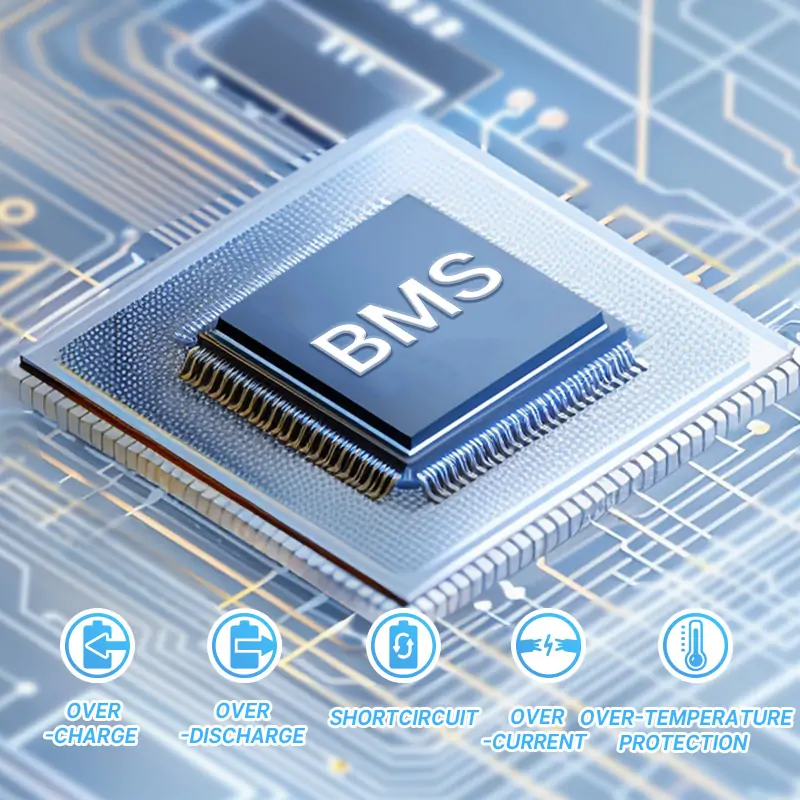
Additionally, LiFePO4 batteries typically require a specific type of battery management system (BMS) to ensure proper charging and discharging, as well as to monitor individual cell voltages. This BMS helps protect the battery from overcharging, overheating, and other potential issues. Therefore, it's essential to choose a reputable and reliable BMS that is compatible with your RV's electrical system.
Finally, it's worth noting that LiFePO4 batteries can be more expensive upfront compared to lead-acid batteries. However, considering their longer lifespan, improved performance, and reduced maintenance requirements, they can be a worthwhile investment for RV owners who rely heavily on their battery system.
Conclusion
In conclusion, upgrading your RV battery system to maintenance-free LiFePO4 batteries can offer significant advantages, including a longer lifespan, lighter weight, higher energy density, and a more consistent power supply. However, it's crucial to consult with a professional to ensure compatibility and to make any necessary modifications or upgrades to your RV's electrical system. By investing in LiFePO4 batteries, you can enhance your RV's battery performance and enjoy a more reliable and efficient power supply during your travels.
![[Answered] Why Camper Battery Not Charging and How to Solve](http://www.redodopower.com/cdn/shop/files/20220402-182128_f406e536-af3b-484f-ba7c-2f4771ec4559.png?crop=center&format=webp&height=24&v=1656668006&width=24)
Redodo
Redodo
Join Redodo
Related Post

How To Test a Battery with a Multimeter? (Step-by-Step)

5 Best 48V Lithium Batteries for Golf Cart in 2026

What Battery to Run a Fish Finder and Livewell All Day?

A Full Guide of Wiring Solar Panels in Series vs Parallel

How to Install Solar Panels on an RV or Motorhome? Step-by-Step Guide
Related Products

Redodo 12V 100Ah LiFePO4 Lithium Battery | Best Budget | For RV, Solar, Trolling Motor


Redodo 12V 100Ah Group 24 Bluetooth LiFePO4 Battery | Real-Time Battery Monitoring | For RV, Marine, Solar

Redodo 12V 100Ah Group 31 Bluetooth Lithium Battery | Real-Time Battery Monitoring | For RV, Marine, Solar

Redodo 12V 100Ah Self-Heating Lithium Battery | For RV, Boats, and Solar Home Systems


Redodo 12V 300Ah Lithium LiFePO4 Battery | Replaces 6*12V 100Ah AGM Batteries | For RV, Marine, Home battery backup